Most Christmas nail inspiration assumes a salon appointment and two spare hours. This doesn’t. Every design below is one or two colours with no more than one accent nail, and all of them work with polish you probably already own.
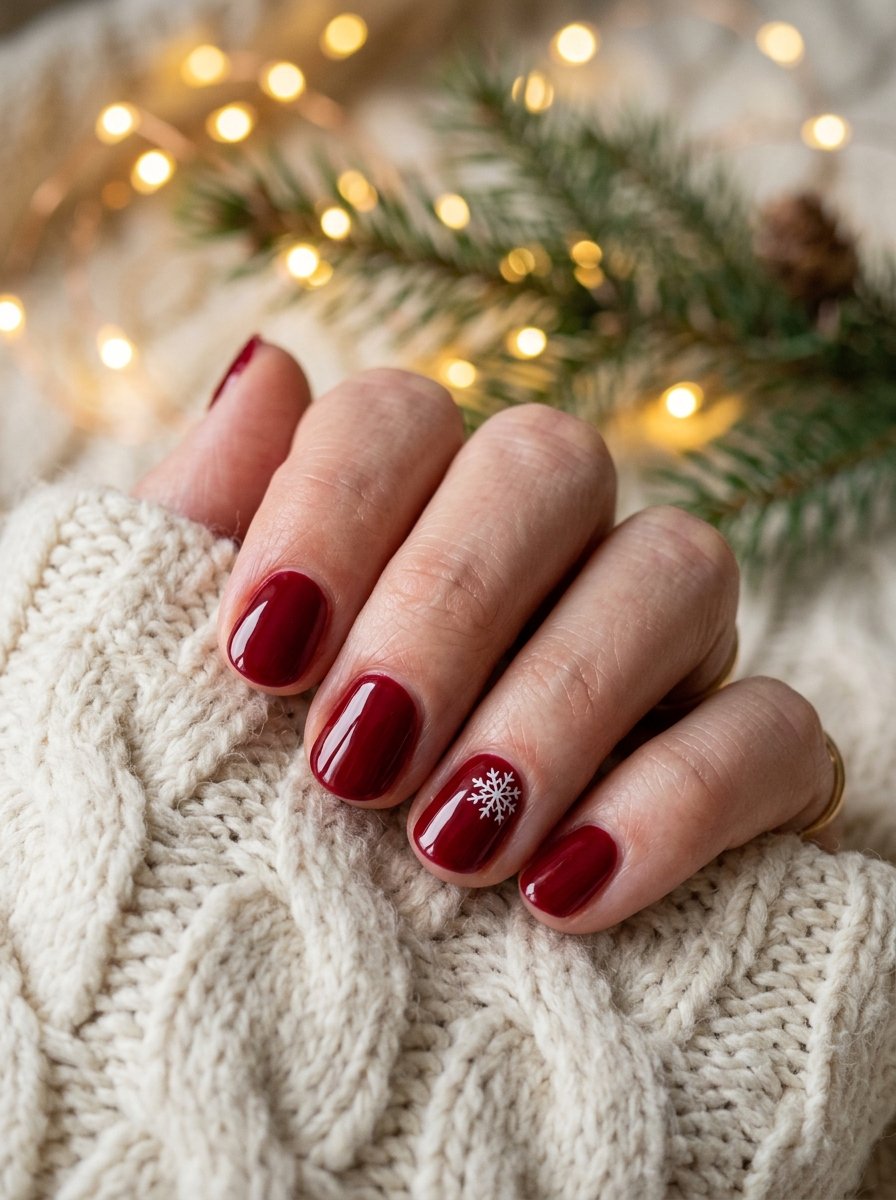
Simple doesn’t mean boring. It means the design survives contact with December: wrapping presents, washing up after a long dinner, and three weeks of cold weather that makes nails brittle. The designs that photograph well in a salon chair are rarely the ones still intact on the 27th.
The Five Christmas Nail Colours That Do All the Work
Before any design, colour decides how festive a manicure reads. Five carry the entire season:
- Classic red. Needs no explanation. A blue-based red reads crisp and modern; a warm brick red reads cosy and traditional. Blue-based also flatters cooler skin tones, brick suits warmer ones.
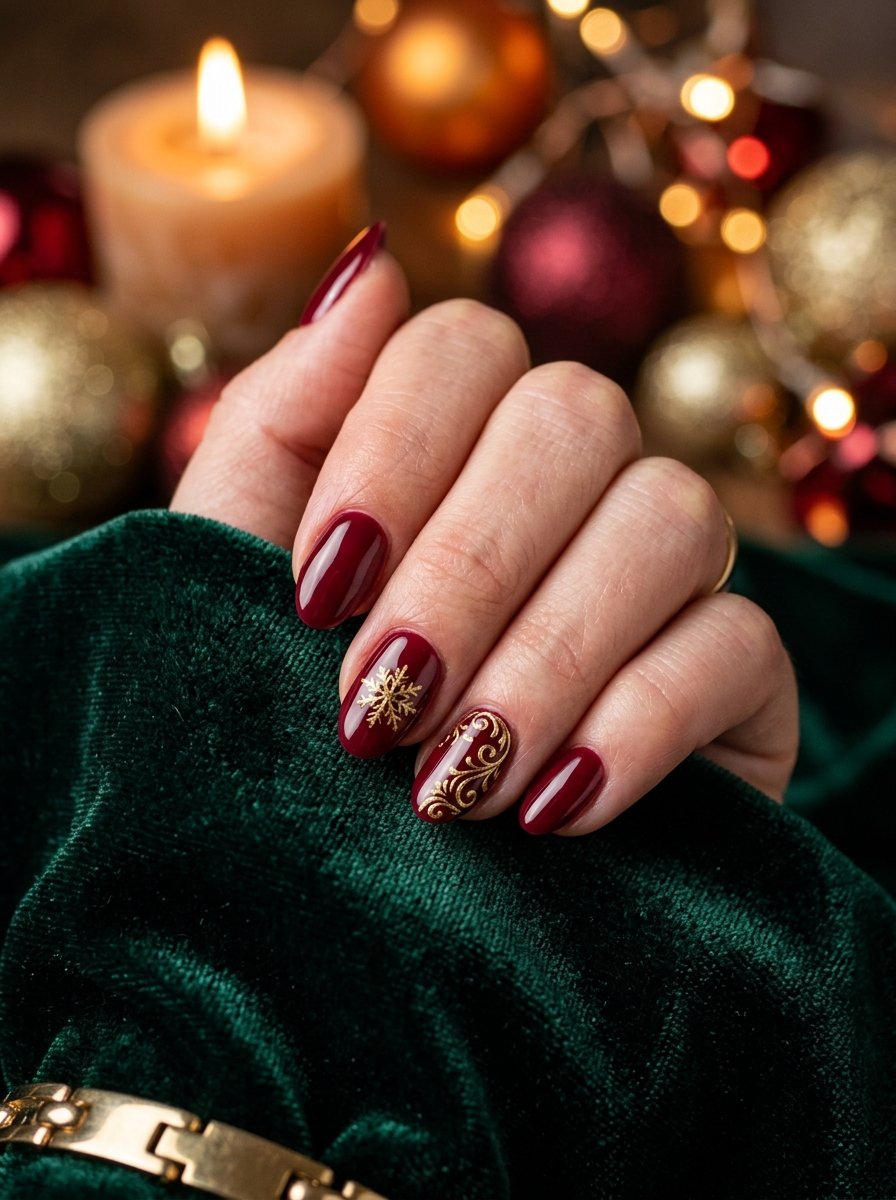
- Cranberry and oxblood. Deeper than red, reads more expensive, and carries into January when bright red starts to look out of season. If you only buy one festive polish, buy this.
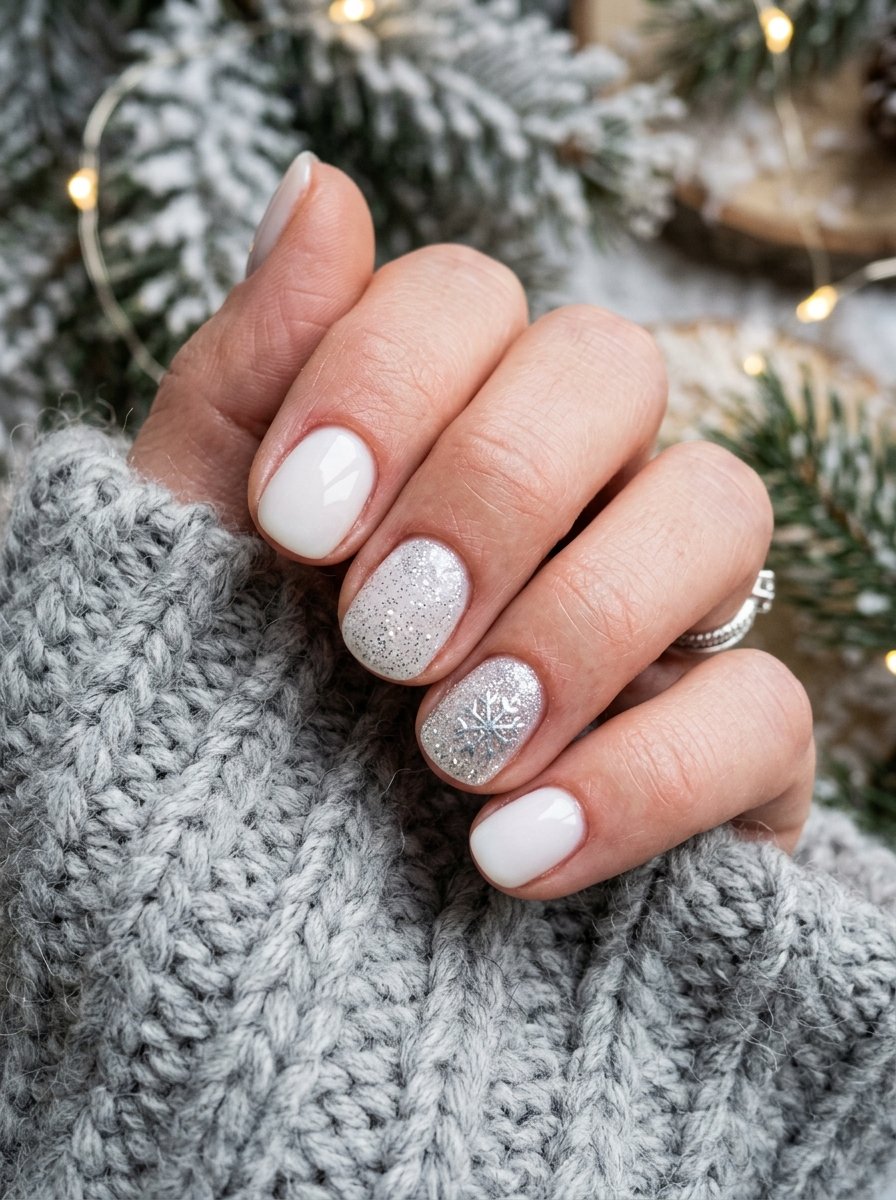
- Milky white. The base most other designs sit on. Worn alone it reads as frost rather than plain, and it makes short nails look longer.
- Forest and emerald green. The alternative to red, and far less worn — which is exactly why it stands out in a room where everyone else picked red.
- Silver and gold. Accent colours, not full sets. One metallic nail does more work than ten.
One rule worth following: pick two colours, never three. Red and gold. Milky white and silver. Green and cream. Three colours on short nails is the exact point where festive tips over into costume.
Simple Christmas Nails With No Nail Art at All (1–8)
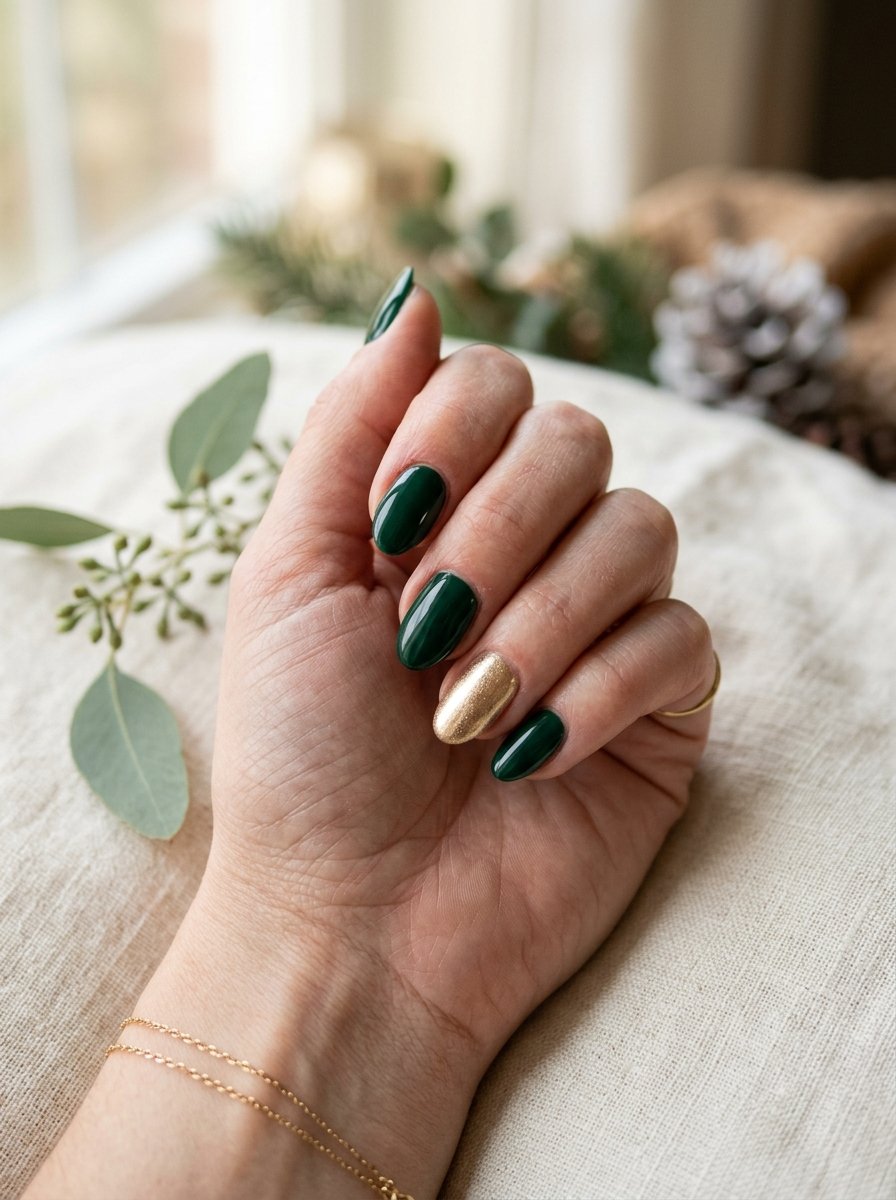
These need one bottle of polish and a topcoat. No brushes, no dotting tools, no steady hand:
- Classic red on all ten. Two thin coats, glossy topcoat. Still the most-worn Christmas manicure, and still the hardest to get wrong.
- Cranberry with a matte topcoat. Identical effort to the above, completely different result. Matte makes a dark shade look deliberate rather than heavy.
- Milky white, sheer and buildable. One coat reads natural, three reads porcelain. Adjust to taste.
- Forest green on short almond. Deep enough to signal Christmas without a single painted detail.
- One gold accent nail. Nine nails milky white, one metallic gold. That is the whole design, and it photographs better than most things that take an hour.
- Two-tone red and cream. Alternate the colour nail to nail. Reads as intentional, takes no extra skill.
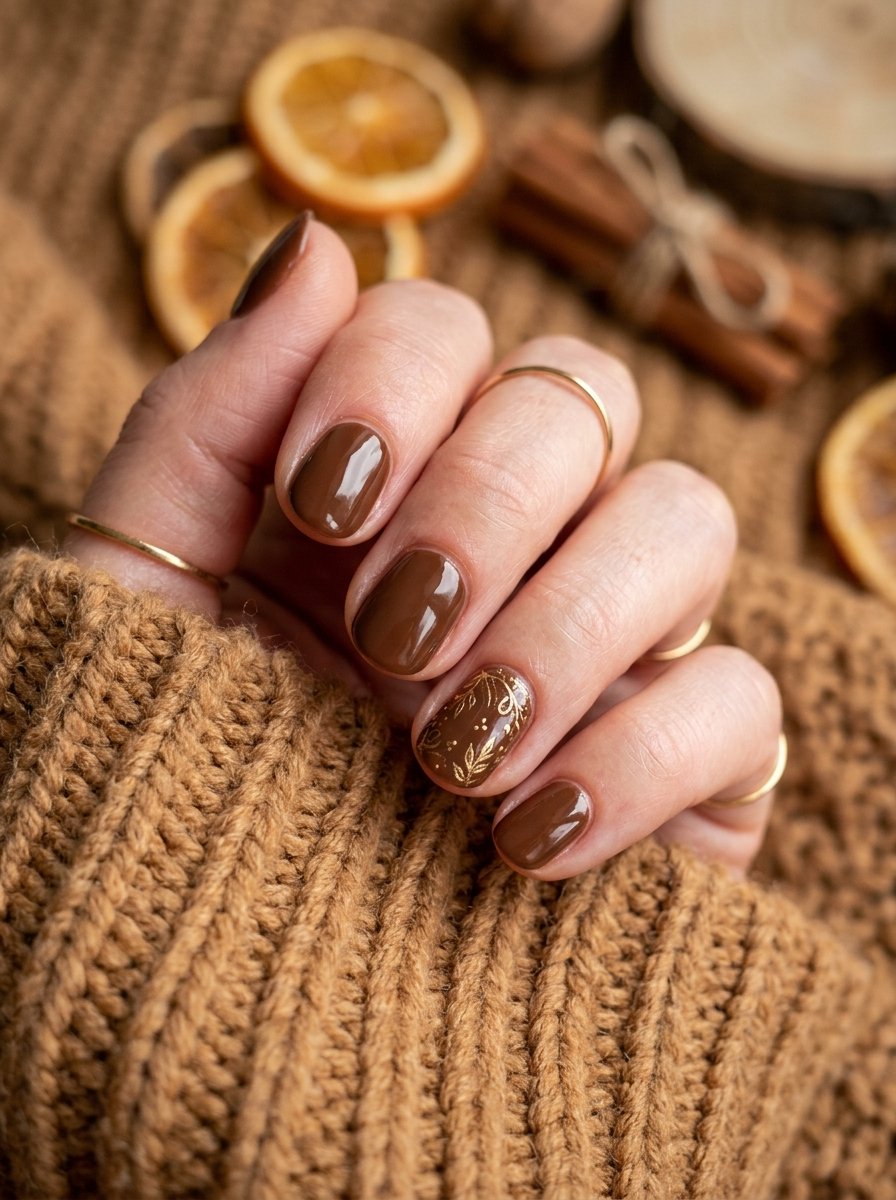
- Chocolate brown with gold. The unexpected Christmas palette. It suits warm and deeper skin tones better than red does, and almost nobody else will be wearing it.
- Navy with one silver nail. Midnight blue instead of black — softer, and the silver reads as frost rather than party.
Easy Tip Designs (9–15)
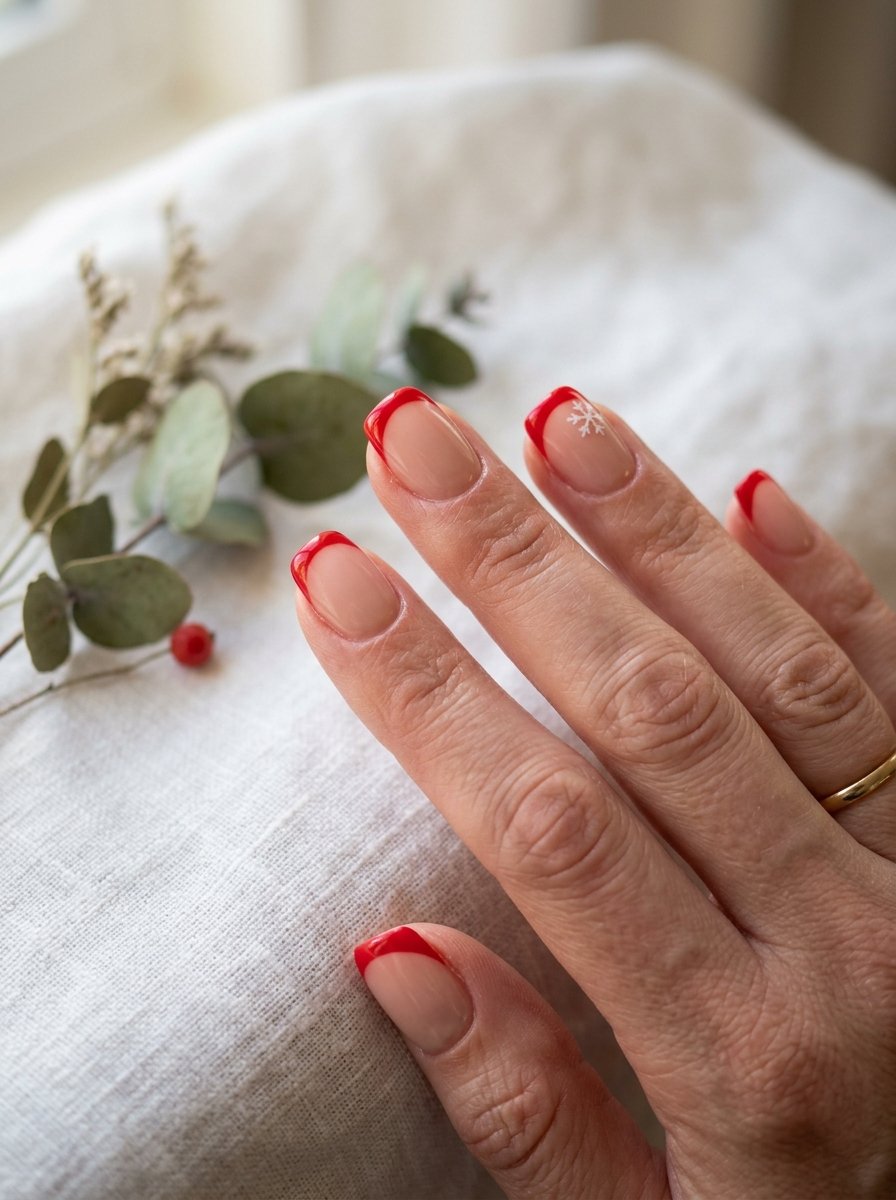
Everything happens in the top few millimetres, which makes these the most forgiving designs to attempt. A wobbly line cleans up with an angled brush dipped in acetone; a wobbly full-nail design doesn’t.
- Red French tips. A French manicure with the white swapped for red. The single most requested festive design in salons.
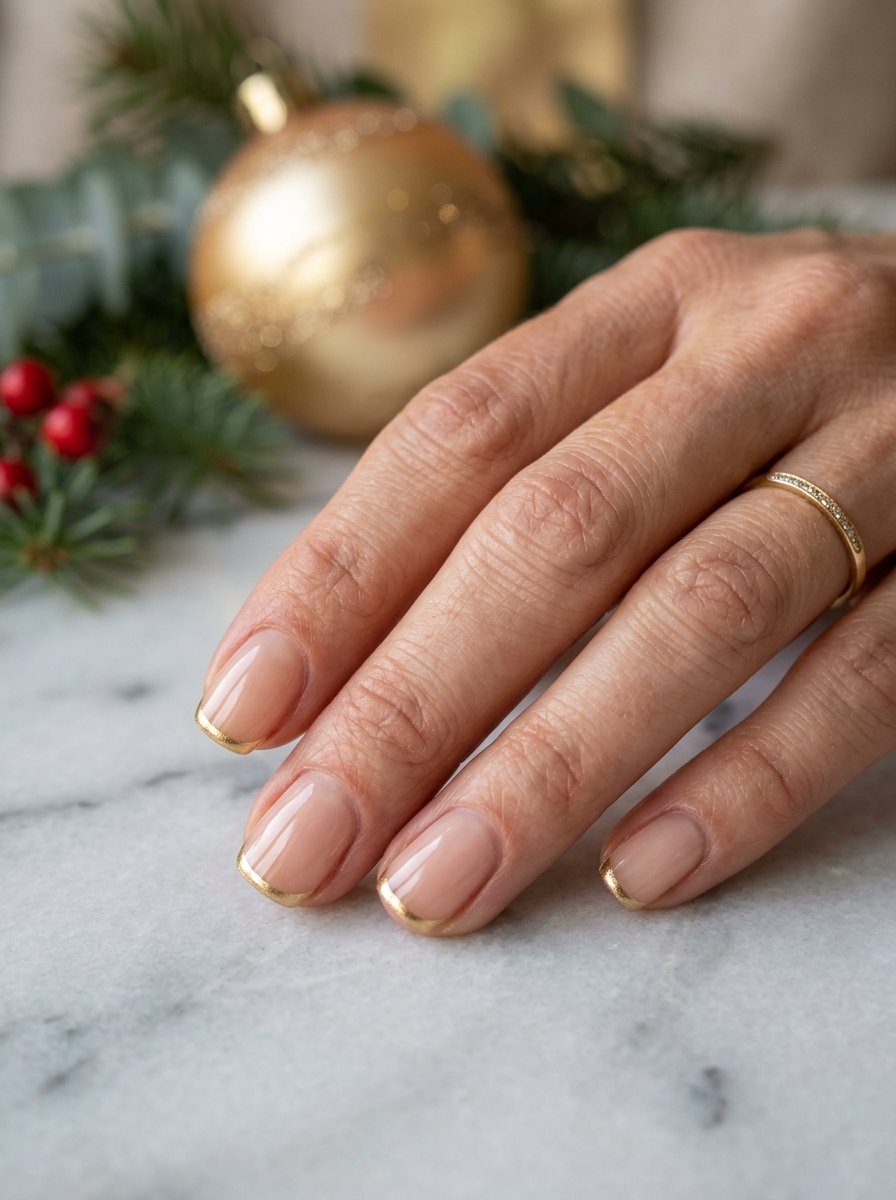
- Gold micro-French. A hairline of metallic gold instead of a full tip. The most understated option here and the one that grows out most cleanly.
- Glitter tips. Fine silver glitter fading down from the tip rather than stopping in a line.
- Green tips on nude. Forest green, thin, nothing else.
- Double French. A thin gold line, a gap of bare nail, then a red tip.
- Candy cane tips. Two red diagonal stripes across a white tip. The one genuinely playful design that still looks finished.
- Snow-dusted tips. White polish dabbed on with a makeup sponge so it fades out instead of forming a line. Forgiving, because there is no line to get wrong.
One-Accent-Nail Designs (16–22)
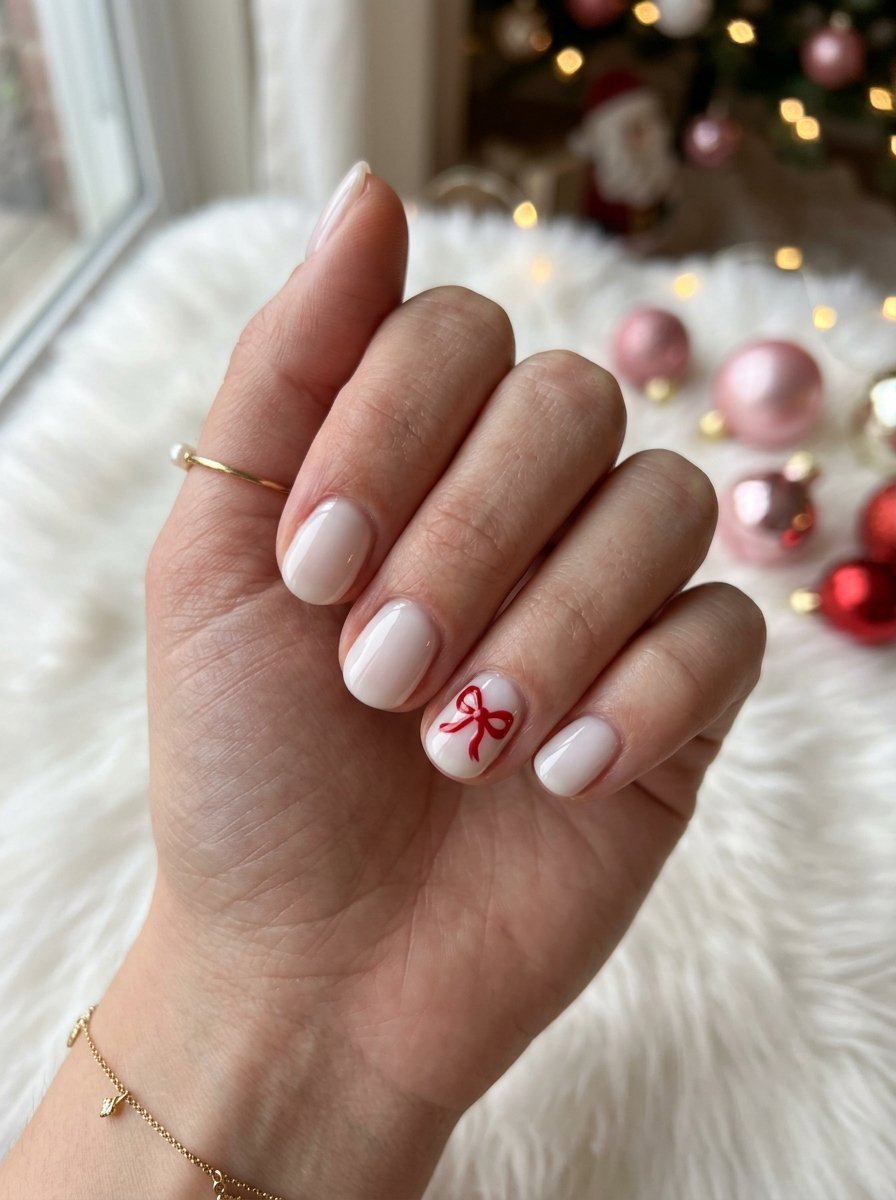
The accent-nail approach isn’t a shortcut for people who can’t paint. It’s what professional festive sets actually look like this year — nine calm nails making one detailed nail look expensive.
- Single snowflake. One six-pointed flake on the ring finger. Method below.
- Tiny bow. Two small loops and a knot in red or gold on a milky base. The coquette version of Christmas nails, and currently the fastest-rising of these.
- Single gold star. One five-point star, nothing else on the hand.
- Sprig of holly. Two green leaves and three red dots. Easier than it sounds because holly leaves are irregular by nature.
- Candy cane stripe. One nail striped diagonally, the other nine solid red.
- Full glitter accent. One nail packed with glitter, nine plain. Use a sponge to press glitter on rather than brushing it.
- Loose gold flakes. A few gold leaf flakes pressed into topcoat while it’s still wet.
Plaid, Tartan and Cosy Patterns (23–26)
- Red tartan accent. Two vertical lines, two horizontal, on one nail. Vary the line weights so it reads as fabric rather than a grid.
- Neutral plaid. Cocoa and cream instead of red and green — festive without being obvious, and it carries through January.
- Cable knit texture. Raised white lines mimicking a jumper, built with builder gel. The most advanced design here, and the only one genuinely worth paying for.
- Green tartan on sheer nude. Forest green lines over a barely-there base.
How to Paint a Snowflake That Actually Looks Like One
The most-attempted Christmas nail design and the one most often abandoned halfway. It fails for one reason: people draw it as a picture instead of building it in layers. Do it in this order and it works:
- Let the base dry completely. Not touch-dry — properly dry. White paint on tacky polish drags every single time, and there is no recovering it.
- Draw a cross. One vertical line, one horizontal, meeting at the centre. Keep both thin.
- Add two diagonals. Through the same centre point. You now have six arms, which is what makes a snowflake read as a snowflake rather than a star.
- Small V shapes at each tip. Two short strokes per arm, angled back toward the centre. This is the step that does most of the work.
- One dot in the middle. Small. This is what stops the whole thing looking like an asterisk.
- Topcoat the whole nail, capping the free edge.
Two things make the difference: a thin liner brush, and white polish thinned slightly with a drop of remover so it flows instead of dragging. If your lines go thick, the design stops reading as a snowflake no matter how symmetrical it is.
Choosing a Design That Suits Your Nails
Not every design on this list works on every hand, and picking badly is why festive manicures often look worse than everyday ones.
- Very short nails. Stay at the tip or on one accent nail. Full-nail scenes crowd, where a single snowflake looks deliberate.
- Wide nail beds. Vertical elements — stripes, a thin French, tartan lines running lengthways — narrow the look. Horizontal bands widen it.
- Short nail beds. Skip the full French tip; it visually shortens further. A micro-French or a bare tip works better.
- Warm skin tones. Brick red, chocolate, gold, forest green.
- Cool skin tones. Blue-based red, cranberry, silver, navy, milky white.
Making Christmas Nails Survive December
Festive manicures chip faster than autumn ones, and it isn’t bad luck. Cold weather makes the nail plate brittle, central heating strips moisture, and December involves more washing up than any other month of the year.
- Cap the free edge on every coat. Base, colour, topcoat. Swipe the brush along the very tip of the nail each time. This is the single biggest factor in whether a manicure lasts a week or three days.
- Thin coats, properly dried. Two thin coats outlast one thick coat by a wide margin, because thick polish stays soft underneath and dents.
- Re-apply topcoat on day four. Especially over glitter and matte, which dull fastest.
- Cuticle oil daily. Flexible nails chip less than dry, brittle ones, and December is the driest month your hands will have.
- Gloves for washing up. Hot water and detergent lift polish faster than anything else you will do this month. This one change extends a manicure more than any product.
- Choose colours that grow out gracefully. Cranberry, chocolate and milky white tolerate a few millimetres of regrowth. Bright red and glitter do not.
Frequently Asked Questions
What are the easiest Christmas nails to do at home?
Solid red, milky white with one gold accent nail, and red French tips. All three need one colour plus a topcoat and no nail art skill whatsoever.
What colour nails are best for Christmas?
Classic red and cranberry lead, followed by milky white and forest green, with metallic gold or silver used as accents. Choose two and stop — a third colour is where it starts to look like a costume.
How do you do simple Christmas nails on short nails?
Keep the design at the tip or confined to one accent nail. Short nails have less surface area, so a full-nail scene crowds while a single snowflake or a thin red tip looks deliberate.
How far in advance should I do my Christmas nails?
Three to five days before the event. That gives you a fresh set for photographs without regrowth showing at the cuticle, and time to fix anything that goes wrong.
Can I wear Christmas nails into January?
Cranberry, milky white, navy and chocolate all carry past the holidays comfortably. Bright red and anything with a snowflake or a candy cane doesn’t — plan to change those in the first week of January.
Do I need gel polish for these designs?
No. Every design here works in regular polish. Gel holds longer and cures instantly between layers, which helps with the linework designs, but the colour-only options are identical either way.
More Christmas Nail Guides
For designs specific to shorter lengths, see 25 short Christmas nail ideas and easy short Christmas nails you can do at home. For the French tip versions, nine festive French tip variations. If you want red specifically, fifteen ways to wear red on short nails, and for the most understated end of the range, classy Christmas nails that never look tacky.